Experimenting Using the Lasercutter
Our task for the day was to use an image or text, to create an interesting 3D rendering. We were shown how to create the print out on the lasercutter by finding an image, pasting it into the lasercut program and either outlining it and filling in the areas to make it simply black and white and then giving it a red outline. The black areas would be engraved and set to cut out 0.001cm to give a clear sense of light and shadow on the finished image. Once the black and white was marked out on the computer, an outline had to be placed around the image or text in red, and the red was set to cut out fully, therefore this would be the edge of the image.
Jay Z-ring
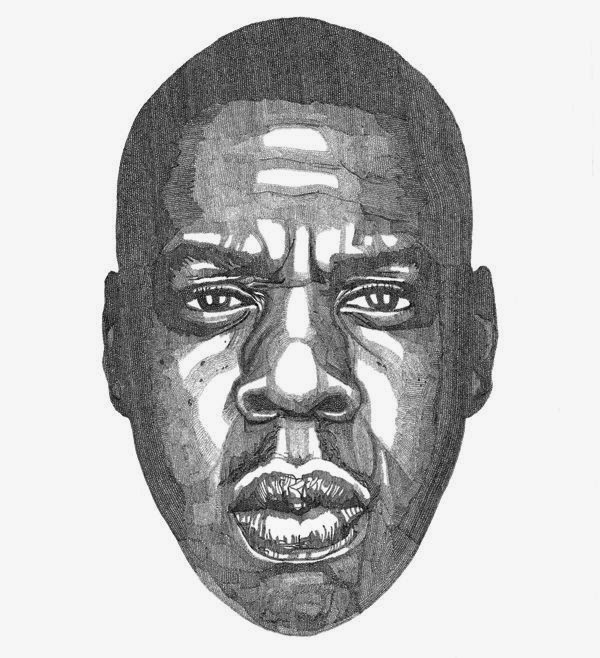
I researched some images online until I found an image I liked of Jay Z, which was a drawing (pictured below), I then searched for the original image and a posterised version, I then found one which was already in black and white therefore when pasted onto the program, I then cropped out the text as I only wanted the image of his face, and then I placed an oval shaped red outline. To make the finished product more useful, I decided to cut a small hole in the top so that it could be used as a key ring. Once I was happy with the result and the shape and size of the image, I printed it out on the lasercutter. To do this, I chose a material which I thought would work well with the design: wood, as the engraved areas would come up dark where the wood has been burnt so it would give a stronger sense of light and shadow. I then changed the print settings to natural materials and medium wood so the laser wasn't too weak or too strong that it would set the wood on fire.
 This is the posterised image that I pasted onto the program. Below is the finished result with the hole in the top so that it can be made into a key ring.
I enjoyed this task as it was useful to learn how to use the lasercutter and the program associated with it. It will be very useful to be able to use this in the future. I was happy with the end result and I think the wood worked well with the image, it also created a very light, strong 3D image.

No comments:
Post a Comment